Yarn comes in many different forms, cakes, balls, skeins, and hanks. Some of these are ready to knit from, but if you’ve purchased hand dyed yarn, it most likely is wound into a hank. Why a hank? A hank is a large oval shape with figure 8 ties to keep the strands of yarn lined up. Both ends of the hank are usually tied together. The large loop with ties enables me to hand dye yarn and rinse it multiple times without it becoming tangled. Presenting the hand dyed yarn as a hank also allows the knitter or crocheter to see how the color has been placed during the dye process.
Can I Knit from a Hank?
Short answer, No. You cannot knit or crochet directly from a hank. I’ve tried. It doesn’t work! Some feel it’s tedious, but it really is a satisfying feeling to have your yarn in a pretty ball ready to work. With the proper steps and methods, you can easily have a yarn ball with no twists and knots. Follow the easy steps explained here and you will be ready to knit or crochet with your beautiful hand dyed yarn in no time.
Easy Steps to Wind a Ball from a Hand Dyed Yarn Hank
Easy steps that can help you wind a ball from a hank:
Step 1 – Untwist the Wool Hank
Place the hank of yarn on a swift. If you don’t have a swift, place the hank around the backs of two wooden chairs, keeping the chairs far enough apart to keep the yarn taut. You can also get a handy helper to hold the yarn on their arms for you. You will see a knot on the one end of the wool hank that you need to cut. Carefully cut the knot off and unwind the ends. You may have one or more figure 8 ties through the skein. Remove them carefully, only cutting at the knot.
Step 2 – Use Your Fingers
Gently use your two or three fingers to begin winding the hand dyed yarn. Follow the path of the yarn around whatever you have placed it on, being careful not to pull the yarn from what is holding it. Wrap the yarn around your fingers ten to fifteen times and carefully slide the yarn from your fingers
Step 3 – Fold the Yarn
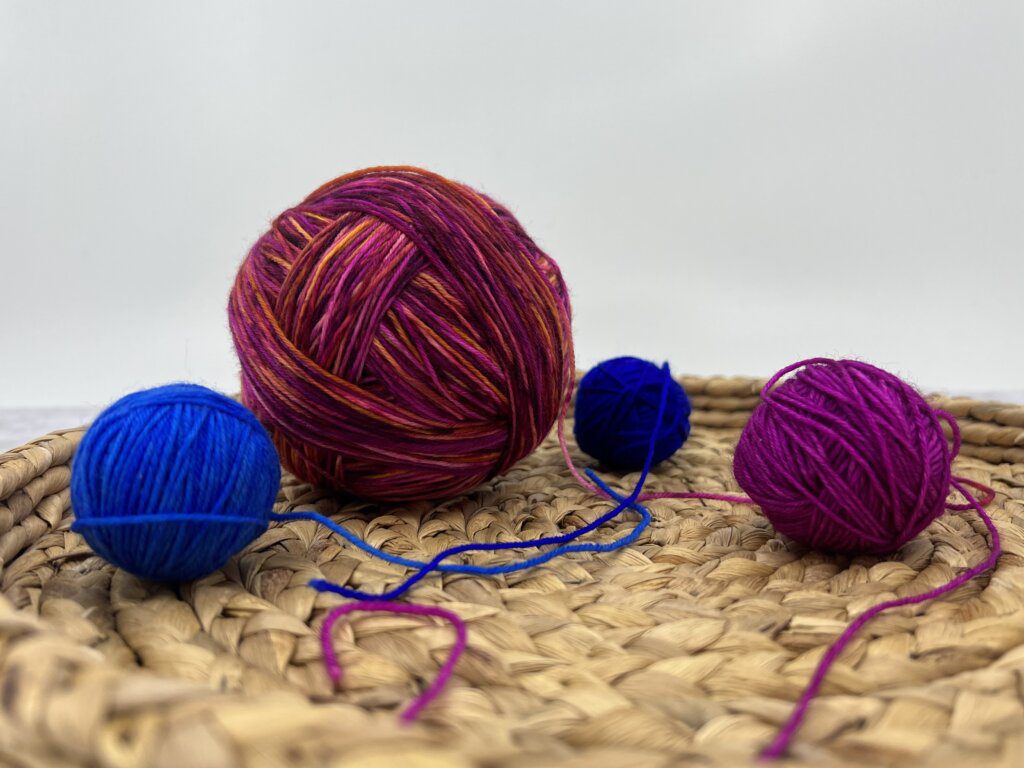
In the beginning, this may look messy, but it’s ok! Fold the yarn half over itself and keep winding it firmly forming a small ball. Continue with the process, and you will start noticing the yarn taking its shape into a beautiful ball of hand-dyed yarn. Doesn’t the yarn look different when wound in a ball?
Step 4 – Evenly Distribute the Yarn
Rotate the ball around as you wind the yarn to keep it evenly spaced. It’s recommended to start slowly to get started and then you can go faster. If using a chair or something similar to hold the yarn, be sure the hank stays tight on the chair backs and follow the yarn around the outside of the chairs.
Step 5 – Make Sure the Ball is Firm
Once you have done with the ball, make sure it is firm but not too tight. It’s important not to stretch the yarn when winding. A firmly wound ball will keep the yarn free of knots and tangles while you work with it. I prefer to place my ball of yarn in a small container or yarn bowl when knitting wool socks to prevent the ball from rolling across the floor.

Grab Your Needles and Hooks to Start Your Project!
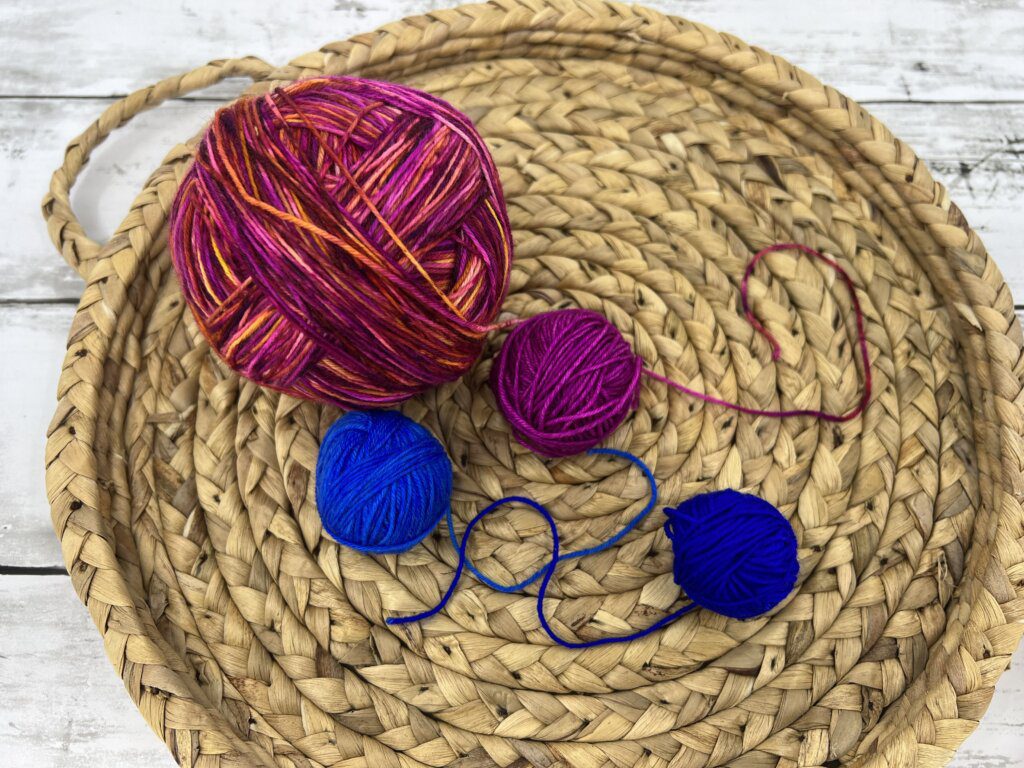
Follow the steps stated above, and you are ready with a tidy and project-ready ball of hand dyed yarn. Get prepared with your needles, hooks, and creative ideas for your next project! Visit New Garden Farm today to shop for natural hand-dyed yarn in several different weights. We are committed to providing suitable yarn for your next knitting, weaving, or crochet project.